Trails Near Me: How to Find Hiking and Walking Trails That Fit Your Day
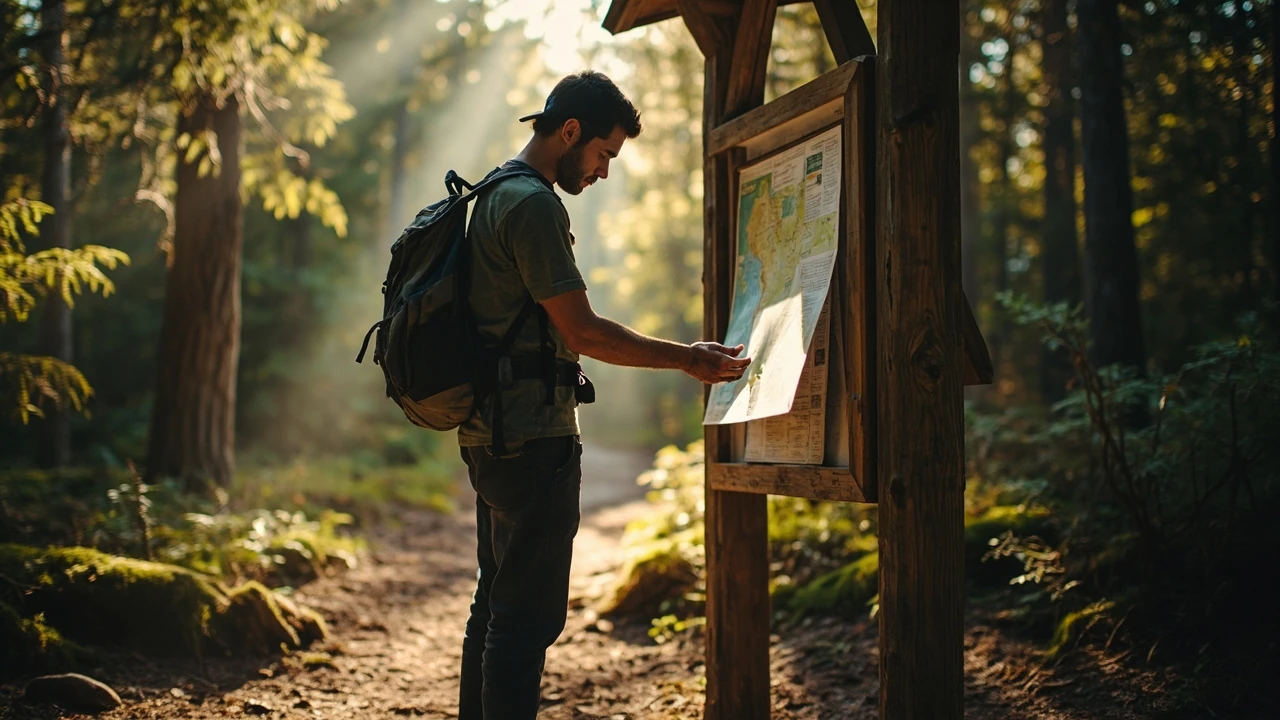
Trails near me: how to actually find a route worth driving to
You type “trails near me” into a search bar because you want a real answer: a specific place you can reach this weekend, with a path that matches your fitness, your gear, and the time you have. The search results, however, tend to mix local blogs, national park pages, app listings, and generic lists that do not respect your starting point. A more useful approach is to treat the search as a short planning task, not a single click. You need a method for filtering trails by location, distance, surface, elevation, season, and safety rules, then a way to verify the route before you drive out.
This guide walks through that method step by step. It covers how to use mapping tools, how to read trail listings critically, how to match a route to your group, and how to combine trail days with nearby adventure activities such as a high ropes course. The focus stays on the practical decisions that turn a vague wish for a walk in the woods into a route you can actually follow on Saturday morning.
Start from your real starting point, not the city name
The first mistake people make when searching for trails near me is searching by city. A city is a large polygon, and a “trail near your city” can easily be 90 minutes away. A more accurate starting point is your home address, workplace, or the neighborhood where you plan to spend the night. Most mapping tools let you drop a pin and search outward from that point, which gives results that are actually reachable without a long detour.
Before you search, decide on a maximum travel time. For a half-day outing, 30 to 45 minutes each way is a reasonable ceiling. For a full day, you can extend that to 90 minutes, but anything longer starts to compete with destinations three hours away. Once you set a ceiling, you can filter out listings that look appealing on paper but are not realistic for the time you have.
Choose the right mapping tool for the job
Different tools answer different parts of the question “what trails are near me.” A practical search usually combines two or three of them, because no single platform covers every angle. The table below compares the most common options and what they are best used for.
| Tool | What it shows well | Where it falls short | Best use in your search |
|---|---|---|---|
| Google Maps | Driving time, satellite view, basic trail overlays, user photos | Limited trail conditions, no surface detail | Confirming that a trailhead exists and is reachable |
| OpenStreetMap-based apps (OsmAnd, Maps.me) | Detailed footpaths, contour lines, offline use | Less polished interface, fewer reviews | Verifying route geometry before you commit |
| AllTrails | User reviews, difficulty ratings, recent photos, route traces | Some regions are sparse, paid tier for offline | Filtering by length, elevation, and dog-friendliness |
| Government and park service sites | Official conditions, closures, permits, rules | Less useful for discovery | Checking closure status and required permits |
| Local hiking clubs and forums | Hidden routes, current conditions, local etiquette | Inconsistent coverage | Filling gaps that apps miss |
OpenStreetMap-based maps are particularly useful for understanding the shape of a route, because they often include smaller footpaths that commercial apps ignore. For an overview of how digital mapping has changed outdoor navigation, the OpenStreetMap entry gives a clear summary of the project’s scope and data model.
Filter trails by what actually changes the experience
Once you have a list of candidate trails near your starting point, the next step is to filter them by the attributes that change how the day feels. A trail that looks ideal in a photo can be miserable if it does not match your group, your gear, or the weather. The list below covers the filters that matter most.
- Distance and loop versus out-and-back: A 6-kilometer loop takes longer than a 6-kilometer out-and-back because you cannot shortcut back, but it also feels less repetitive.
- Total elevation gain: A 5-kilometer trail with 300 meters of climb feels harder than a 10-kilometer trail on flat ground. Match this to your group honestly.
- Surface type: Paved or boardwalk trails work for strollers and casual shoes. Rooty, rocky, or muddy paths need proper hiking footwear.
- Shade and water exposure: Open ridges get hot in summer, while shaded ravines stay muddy. In shoulder seasons, exposed ridges can be dangerously windy.
- Cell coverage and signage: Marked trails with posted maps reduce the risk of getting turned around, especially for first-time visitors.
- Permits, fees, and parking: Some trailheads require advance booking, day passes, or paid parking. Confirm these before you leave home.
If you are heading out with children, a separate filter is worth applying. Age, height, and attention span all change what counts as a “good” trail. The practical planning steps in How to Plan a Family Rope Park Day Around Age and Height Rules describe a similar age-based framework, and the same logic applies when you pick a trail length and difficulty for younger walkers.
Read a trail listing like an editor, not a tourist
Trail listings are written by people who loved their visit, and that bias shows up in every description. A “moderate” climb on one platform can feel like a hard climb on another. The safest way to read a listing is to focus on the numbers first and the adjectives second.
Start with the distance, the elevation profile, and the most recent reviews. If a listing shows a route trace, glance at it on a satellite view to confirm that the path is actually continuous and not crossing private land or a busy road. Then look at reviews from the last two months, because conditions change with the season. A trail that was “perfect” in May can be overgrown, flooded, or closed in October.
Match the trail to your day, not the other way around
People often pick a trail and then try to fit the rest of the day around it. A more reliable approach is to pick the day first and the trail second. A few common day shapes and the trails that suit them are listed below.
- Two-hour morning outing: A flat 3 to 5 kilometer loop near home, ending at a café or bakery. Good for maintaining a routine and testing new shoes.
- Half-day with kids: A 2 to 4 kilometer loop with one small climb, a stream or viewpoint as a destination, and a clear turnaround point. Aim for a route that ends with food or a playground.
- Full training day: A 12 to 20 kilometer route with sustained elevation, used to build endurance. Carry water, snacks, a layer, and a paper map as a backup.
- Adventure combo day: A short morning walk followed by an activity such as a high ropes course or a zipline. The walk becomes a warm-up rather than the main event.
An adventure combo day is worth thinking through carefully, because the timing of the second activity affects the trail choice. If you plan to climb or balance on elevated elements later, you want a trail that does not trash your legs in the morning. A flat forest loop with a few stairs is a better warm-up than a steep ridge. If you are new to elevated activities, the walkthrough in Your First High Ropes Course: What to Expect gives a useful preview of the physical demands involved.
Plan the boring details before you leave
Most trail disappointments come from overlooked logistics, not from the trail itself. A simple pre-departure checklist is usually enough to prevent the most common problems.
- Check the weather again the night before and the morning of, paying attention to wind, thunderstorm risk, and temperature swings at elevation.
- Confirm sunrise and sunset times, and pick a turnaround time that is at least 60 minutes before dark.
- Pack water, snacks, a basic first-aid kit, a headlamp, a fully charged phone, and a paper map for areas with weak signal.
- Tell someone your route and your expected return time, especially for less-marked trails.
- Review local rules on dogs, drones, fires, and whether the trail is shared with bikes or horses.
Weather deserves a separate mention, because the same trail can be a delight or a trap depending on the conditions. Wet roots, swollen streams, and gusty ridgelines are the three patterns that change a route from pleasant to risky. The decision framework in Rope Park Weather: Rain, Wind and Closure Questions to Ask applies to trail days as well, since the same wind and rain questions affect whether a route is safe to attempt.
Pack for the trail, not for the forecast
Forecasts are useful, but they are not reliable for the microclimate at the trailhead. A packing list that assumes the worst likely weather you might encounter is more useful than one that trusts the morning sun. The table below groups items by role, so you can adjust by season and group size without overpacking.
| Category | Core items | Optional items | Notes |
|---|---|---|---|
| Footwear and traction | Hiking shoes or boots, moisture-wicking socks | Gaiters, microspikes for icy conditions | Replace cotton socks even on short hikes |
| Clothing layers | Base layer, insulating mid-layer, wind shell | Rain pants, warm hat, sun hat | Avoid cotton as the main layer |
| Hydration and food | Water, electrolyte tablets or salty snacks | Insulated bottle in winter, light meal | Plan roughly 0.5 liters per hour of effort |
| Navigation and safety | Phone with offline map, paper map, compass | GPS device, personal locator beacon | Carry a paper backup even if you know the route |
| Emergency and comfort | Small first-aid kit, headlamp, whistle, multi-tool | Emergency blanket, blister treatment, insect repellent | Headlamps earn their space even on day hikes |
If you expect rain, the packing logic shifts toward quick-dry layers and a reliable waterproof shell. A more detailed list for damp conditions is covered in What to Pack for a Wet-Weather Trail Day, which pairs well with the table above.
Use reviews as signals, not as verdicts
Reviews are useful when you read them as a set, not as a single statement. A trail with one “perfect” review and no other activity is less trustworthy than a trail with thirty recent reviews averaging four stars. Look for patterns rather than dramatic outliers. If multiple recent reviews mention muddy sections, downed trees, or unclear signage, assume those issues are real.
It is also worth paying attention to who is writing the review. A review from someone who usually hikes twenty-kilometer days carries different weight than a review from a family with small children. Neither is wrong, but they describe different experiences, and only one of them is likely to match your group.
Plan the drive home, not just the hike
It is easy to forget the return trip while planning a route. A trail that takes 40 minutes to reach on a clear road can take more than an hour after a hot day with tired drivers. Build a small buffer into the schedule, especially if you plan to combine the hike with another activity, a meal, or a sunset stop. A short stop partway home to stretch, hydrate, and reset can be the difference between a pleasant day and a tense one.
For trips that mix a trail with a longer outing, a realistic budget helps avoid surprises at the end of the day. The decision framework in How to Build a Realistic Day Trip Budget covers the categories that tend to slip past people, from parking fees to unplanned coffee stops, and the same categories apply to trail days.
Verify the trail on the day, not the night before
Conditions can change overnight. A storm can wash out a creek crossing, a forest operation can close a section, or a recent review can flag a hazard. The morning of your hike, do a quick check: read the most recent reviews, glance at the trail provider’s site or social feed for closure notices, and look at the satellite view of the trailhead to confirm that the parking area is still accessible.
This is also the moment to confirm the small details that often go wrong: whether the gate is open, whether a permit is required on the day, and whether there is a backup plan if the primary trailhead is full. A few minutes of checking on the day is usually enough to avoid the most common disappointments.
Combine a trail with a planned activity for a fuller day
A trail by itself is a good day, but a trail paired with a structured activity can be a better one. The combination works when the two halves use different muscle groups and different kinds of attention. A flat forest walk in the morning leaves your legs and focus fresh for a ropes course, climbing session, or zipline in the afternoon. Conversely, a high-energy morning session pairs well with a quiet, scenic trail in the late afternoon.
If you are choosing the second activity, the safety and structural notes in Zipline safety: what riders and operators actually check and the system overview in High Ropes Belay Systems Explained for First-Time Visitors are useful starting points, especially if your group includes first-timers. The more you know about what the second half of the day involves, the easier it is to pick a trail that complements it rather than competing with it.
Have a fallback route for the same area
Even with good planning, a primary trail can be closed, overcrowded, or simply not what you hoped for. Picking a second route in the same region turns a disappointing situation into a minor adjustment. A useful fallback has three traits: it is within a 15-minute drive of the original trailhead, it is shorter and easier than your main plan, and it works for a different time of day so it stays useful across the year.
You do not need to research the fallback in detail. A quick note with the name, distance, and a single review from the last few months is usually enough. The goal is to avoid spending an hour in the parking lot scrolling through your phone while the day slips by.
Frequently asked questions
How do I find trails near me that are actually walkable from home?
Set your search radius to a 15 or 20 minute walk, then check OpenStreetMap-based apps and your local council’s green-space map. Most urban areas have at least one green corridor, riverside path, or park loop that is reachable on foot, even if it does not show up in commercial trail apps.
What is the best app for trails near me?
For most people, AllTrails is the easiest starting point because of its review base and filters. Pair it with a free OpenStreetMap-based app for offline use and a government or park service site for official closures. No single app covers every angle.
How long should a beginner trail be?
A 3 to 6 kilometer loop with less than 150 meters of total elevation gain is a sensible first target for most beginners. That range gives enough time to feel like a real hike without leaving you exhausted for the rest of the day.
How do I know if a trail is safe for children?
Look for short loops with clear signage, minimal road crossings, and a destination such as a viewpoint, stream, or playground. Avoid trails with long exposed sections, steep drop-offs, or unclear junctions. Reviews from other families in the last few months are the most useful filter.
What should I check before driving to a trailhead?
Check the weather, the most recent reviews, any official closure notices, and the parking situation. If the trailhead is in a popular area, have a backup parking option or a backup trail within 15 minutes of the original.
Can I trust the difficulty rating on a trail listing?
Use the rating as a rough guide rather than a precise number. Read the elevation profile and the length yourself, then look at recent reviews to see how people with similar fitness to yours described the route.
How do I plan a trail day with a ropes course or zipline?
Pick a short, low-impact trail in the morning if the activity is in the afternoon, or a scenic, easy route in the late afternoon if the activity is in the morning. Avoid pairing a steep morning hike with a balance-heavy activity, since tired legs make elevated courses harder than they need to be.
What is the best season to search for new trails near me?
Spring and autumn are the most forgiving seasons in most regions, with cooler temperatures and fewer insects than summer. Winter opens up shorter, lower-elevation routes in many areas, while summer rewards early starts and shaded paths.
How do I find dog-friendly trails near me?
Use the dog-friendly filter in trail apps, then confirm with the trail provider’s site, because some dog rules are seasonal. Carry waste bags, keep your dog leashed where required, and avoid trails with livestock or sensitive wildlife habitats.
What is the simplest way to avoid getting lost on a new trail?
Download an offline map, carry a paper map or a simple printed route, and turn around at the first sign of uncertainty rather than pressing on. Most lost-person incidents involve small errors that compound over an hour or more.
Related reading
Explore High Ropes Adventure
Trip tools
Essential adventure planning guides
Use these practical guides to compare rope park activities, prepare for a first high ropes day, check a booking, choose suitable footwear and contact the editorial team. Each page links to the relevant live tools and current planning sections.
Latest articles
- Sweet tart ropes: what the flavour means in a ropes course
- Demon Slayer movie tickets: how to find a screening and prepare for a day out
- How to choose NBA tickets without overpaying
- Time travel movies worth watching on a slow weekend
- Overseas adventure travel: how to plan a trip that actually works
- Choosing an outdoor bench that actually lasts
- Lows adventure: how low-ropes courses work and who they suit
- outdoor couch
- United travel bank: how prepaid travel money cards actually work
- National parks in California: a practical guide to choosing your trip