Walking trails near me: how to find a route that actually suits you
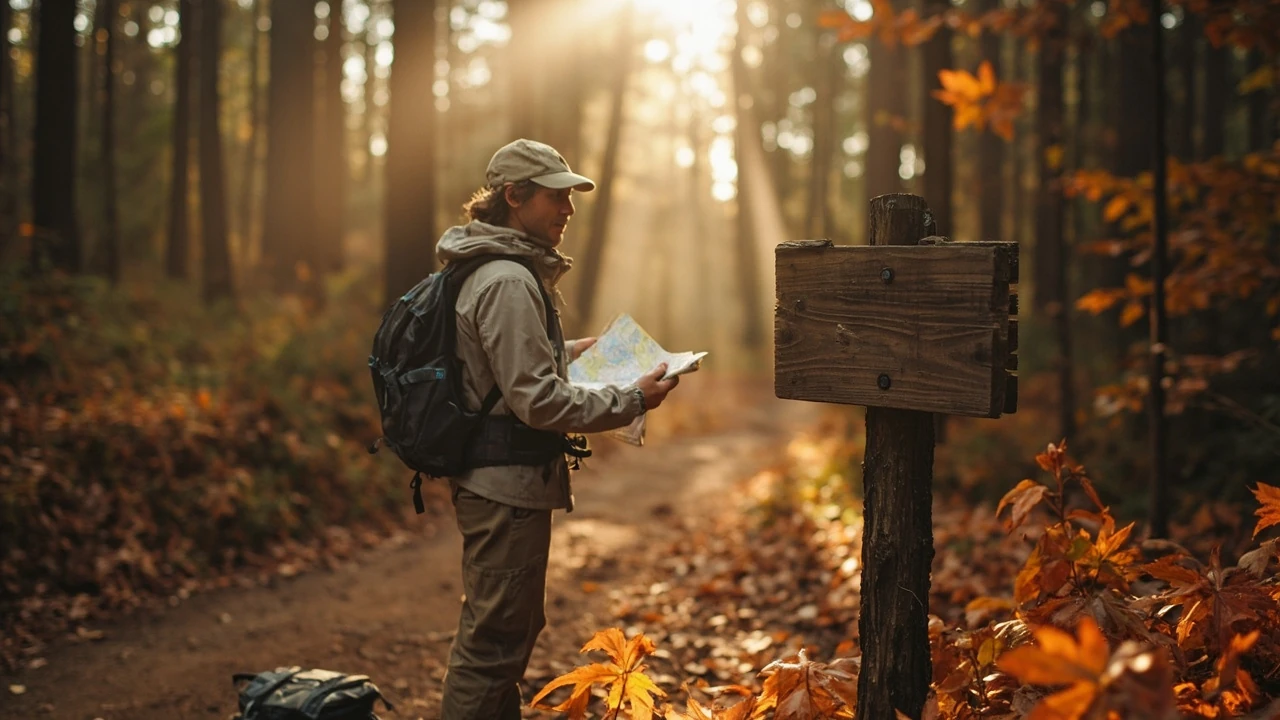
You have an open morning, you want to step out of the car and walk, and you have typed walking trails near me into a search bar. Within a few seconds you are faced with a clutter of pins, colour-coded loops, star ratings, and parking icons. The problem is rarely that no trail exists. The problem is that most results are pulled from a generic database, with no real sense of what your body, your boots, or your schedule can handle on a given day.
This guide treats that moment honestly. It walks through how to pick a route that fits you, how to read what a trail page actually says versus what it leaves out, and how to combine a walk with a nearby high ropes or adventure park visit so the day is not just kilometres under your feet but something the whole group remembers. The advice applies whether you are searching from a city apartment, a holiday cottage, or a motorhome services car park.
Walking trails near me: a practical way to start the search
The phrase walking trails near me works because the search engine reads your location, but the results it returns are only as useful as the filters you apply. Start by clarifying three things before you click the first blue line on a map.
- Time you actually have. A 90 minute window is not the same as a half day. Round-trip travel to the trailhead is part of the time budget, not a free add-on.
- The kind of effort you want. Flat canal towpath, gentle ridge, coastal clifftop, and steep forest climb all count as walking, but they train completely different muscle groups.
- What counts as success. A bench with a view, a pub lunch at the end, a swim in a river, or simply finishing the loop without your knees complaining. Pick one before you scroll.
With those three answers, the same search behaves differently. Instead of asking the map for every green line within 30 km, you are asking for a specific shape of walk inside a realistic time window. That is the difference between a walk that feels like a chore and a walk you would happily repeat next weekend.
How to read a trail listing without being misled
Most online walking trails share the same skeleton: distance, elevation, difficulty, surface, and a photo. Each of these is more slippery than it looks.
Distance, and why the number lies
The headline distance is usually measured along the centre line of the route. It does not include the walk from your car to the trailhead, the detour you take because the dog wants to swim, or the ten minute stop you make to check the map. Treat the figure as a floor, not a ceiling. A 6 km listed route easily becomes 9 km of actual movement if the terrain is rough or the signage is poor.
Elevation gain, the field that most people underestimate
Elevation gain is the total metres of climbing, regardless of the net height of the hill. A short loop with 250 m of gain is harder work than a longer loop on a ridge. If you are walking with children, older relatives, or anyone returning from an injury, treat anything over 150 m of gain per 5 km as a serious filter.
Difficulty ratings, and why they are not standard
There is no single scale. One council rates a route “moderate” because it has stiles, another rates the same route “easy” because the gradient is shallow. Local tourism boards tend to be optimistic because they want the footfall. Look instead at the photo, the surface description, and any mention of “exposed”, “scramble”, or “strenuous”.
Surface and width
A wide gravel path is not the same challenge as a muddy single-track with tree roots. Both can be the same colour on a map. In wet seasons, a flat route on clay soil becomes more demanding than a steeper route on a well-drained forest road.
Where to look beyond the obvious search results
The default map view is a good starting point but it misses layers of useful information. A better routine is to cross-check at least two of the following sources before committing.
- National or regional park authorities. They usually maintain the most accurate condition reports and closure notices, and they describe trail surfaces in their own words rather than importing generic tags.
- Local walking clubs and rambling societies. Their published routes come with a social reality check: where people actually park, where the cafe really is, which stile is broken.
- Outdoor apps with recent user photos. A photo from last weekend tells you more than a five-year-old official image. Look for mud, leaves, and the height of the vegetation in the picture.
- Local authority rights-of-way maps. These confirm whether a path is a public right of way, a permissive path, or a private farm track. That matters if you plan to walk with a dog off-lead or in winter conditions.
If a route is described well by a club, mentioned in a recent visitor centre update, and walked recently by users on an app, you have reasonable confidence. If only one of those is true, treat the walk as provisional until you see the trailhead sign for yourself.
Picking a trail that matches the group
A walk that suits a solo adult on a training schedule is rarely the right walk for a group with a four year old, a teenager, and a grandparent. The trick is to find a route that is interesting for everyone without forcing the slowest pace on the fastest walker. The table below sets out a few useful patterns.
| Group profile | What to look for | What to avoid | Time budget to plan for |
|---|---|---|---|
| Toddler in a carrier or buggy | Wide, smooth path; cafe or play area at midpoint; short loop or out-and-back | Stiles, boggy ground, exposed summits, no shade | 2 to 3 hours including stops |
| Primary school children | Features along the way: a river, a fort, a cave, a tower; gentle gradients | Long, featureless forest roads; navigation puzzles | 3 to 4 hours including a long picnic |
| Teenagers | Photo spots, a summit, optional scramble, a challenge element | Slow, flat loops with no interest beyond distance | 2 to 5 hours, let them set the pace |
| Older relatives or less mobile adults | Benches every 500 m, toilets at the start, gentle climb, a tearoom at the end | Steep descents, slippery rock, long stretches without shade | 1.5 to 3 hours with regular rests |
| Dog walkers | Open space, water source, legal off-lead area, clear bagging policy | Livestock fields in lambing season, busy picnic areas, narrow cliff edges | 1 to 2 hours, twice a day |
The right trail is rarely the most dramatic. It is the one where the slowest member of the group is not struggling, the dog is not over-heating, and there is something to look at every fifteen minutes. A useful background reference is the Long-distance trail, which places this part of the discussion in context.
Planning a half-day walk: a step-by-step routine
Once you have a shortlist of two or three routes, a fixed routine prevents the day from drifting. The steps below take about ten minutes at the kitchen table the night before and remove most of the friction on the day itself.
- Pin the trailhead and check the drive. Look at the road on a satellite map, not just the route line. Single-track lanes with no passing places are fine in a hatchback on a dry Tuesday and miserable in a people carrier on a wet Saturday.
- Check the weather twice. Once the night before for the general pattern, and once in the morning for the actual local conditions. Coastal fog, valley frost, and afternoon thunderstorms are all things that can flip a good plan into a poor one.
- Sort transport to and from the trailhead. If the route is a linear one rather than a loop, decide who is being picked up, where, and when. Public transport is an option on many long-distance trails and you can read a practical comparison of train or car for an outdoor day trip if you are weighing both.
- Decide your bail-out points. Identify the point at which you will turn back if the slowest walker is tired, and the point at which you will abandon the plan if the weather turns. Telling the group this in advance avoids arguments halfway up a hill.
- Pack a small kit even for an easy walk. Water, a layer, a basic first-aid item, a snack, a phone with offline maps, and a torch. The same wet-weather trail packing list works for a clear day once you have stripped out the rain layer.
- Tell someone where you are going. A short message with the route name and your expected return time is enough. If you change your plan, send a second message.
This is also the right moment to think about combining the walk with a paid activity. Many adventure parks sit at the edge of a forest and have their own waymarked walking trails, which makes them an efficient way to use a single day for two experiences.
Combining a trail with a high ropes or adventure park visit
A pure walking day is satisfying, but if you are driving 45 minutes to reach a trailhead, it often makes sense to use that travel time for more than one activity. The combinations that work best share a base, a car park, and a way to get dry or warm between segments.
Morning walk, afternoon high ropes
This is the easiest pattern. A gentle 4 to 6 km loop in the morning, a late lunch at the cafe, then a high ropes course in the afternoon when the legs are warm and the brain is ready for something different. For first-timers, it is worth reading how high ropes belay systems work so the safety briefing makes sense.
High ropes first, then a cool-down walk
Useful on a hot day, or with children who have a short fuse. Get the adrenaline segment out of the way while everyone is fresh, then walk a flat forest loop afterwards as a way to land back in normal conversation. A short, shaded loop is best here.
Two short walks with a ropes course in the middle
This is the format that works for multi-generational days. The older relatives can join the morning walk, rest at base, and meet everyone for lunch, while the children do the high ropes course after the first walk. A second short walk before the drive home helps the group decompress.
If you are setting up a day like this, the underlying planning is the same as for any other group outing. The same logic that appears in how to plan a family rope park day around age and height rules applies to the walking segments: pick the slowest walker, set the schedule around them, and treat the ropes course as a bonus rather than the headline.
Reading the weather, the season, and the trail surface
The same trail changes character through the year. A path that is a quiet gravel track in July can be a shallow stream in February, and a pleasant ridge in May can be a featureless slog in August when the bracken is chest high. Three factors matter more than the actual weather forecast.
Recent rainfall and ground conditions
Clay soils stay wet for days after rain. A walk that was perfect last weekend can be a mud bath this weekend, even if it has not rained since. Local social media groups will often flag this before official sources do, because the people posting have just been ankle-deep in the same field.
Leaf cover and visibility
Autumn leaves make a path beautiful and slippery. In early autumn, the leaf fall can hide roots, rocks, and even the edge of the path on a hillside. In late autumn, the bare trees open up views that were hidden all summer, which is a real reward for walkers who usually grumble about winter. For an independent reference, the six of the best us national provides additional context for this point.
Daylight hours
An 8 km loop that is easy in June becomes a navigation problem in November if the headtorch is still in the drawer. Always check sunset time and aim to be off exposed ground an hour before it. Dark forests feel different from dark towns, even on a short walk.
Trail etiquette that keeps the route open
Most British and European trail networks are a patchwork of public rights of way, permissive paths, and private land where the owner has agreed to let walkers cross. The whole system depends on people behaving well, because a single bad season can close a route for years.
- Stay on the marked line. Walking around a muddy patch widens the damage. A single well-placed step can turn a 30 cm puddle into a 2 m scar that takes years to recover.
- Close every gate. Even if the field looks empty, livestock can move quickly and find the gap you left open.
- Keep dogs under close control. On grazing land, this usually means on a lead. In open hill country, it means within sight and recall. Either way, picking up after the dog is the basic contract.
- Yield to people working the land. Farmers, foresters, and rangers have right of way on their own vehicles. A wave and a step aside costs nothing and is remembered.
- Leave no trace of a rest stop. Banana skins, orange peel, and tissues do not disappear. If you brought it, you carry it out, including the stone you used as a paperweight.
Following these points is not just courtesy. It is what keeps a permissive path permissive, and a quiet forest quiet.
Navigation basics that beat any app
Apps are useful, but batteries die, signal drops, and a phone in a waterproof case is hard to read while walking. A 20 minute lesson in map reading is worth more than a year of paid subscriptions.
Reading a 1:25,000 map
On a standard walker map, one centimetre on the map is 250 m on the ground. Contour lines show elevation: the closer they are, the steeper the ground. A solid line is a path, a dashed line is a less distinct path, and a row of dots is a permissive path that may or may not be signed on the ground. Woods are usually green, fields are pale yellow or white, and a blue line is a stream, not a path.
Orienting the map
Turn the map so that north on the map points to north on the ground. On a smartphone compass, this is automatic. On a paper map, line the compass edge along a north-south grid line and rotate the whole map until the needle sits over the north mark.
Handrails and catch features
On a well-signed route, navigation is simple. On a less obvious route, look for handrails: a river, a wall, a forest edge, a ridge that you can follow without checking the map. A catch feature is a linear obstacle like a main road that tells you you have gone too far. If you hit a catch feature that is not on your plan, stop and check the map before pushing on.
These skills are the same ones you use to stay oriented in a ropes course, as described in what riders and operators actually check on the safety side. The discipline of looking, deciding, and committing is transferable.
When the day does not go to plan
Even with good planning, a walk can go wrong. The most common problems are weather, fatigue, a wrong turn, or a minor injury. A few habits reduce the impact of each.
| Problem | What to do on the trail | What to do before the next walk |
|---|---|---|
| Weather closes in | Turn back at the last bail-out point you agreed; descend off ridges; avoid single trees in open fields | Note the weather pattern and adjust future route choice by season |
| Slowest walker is spent | Stop at the next natural feature; shorten the loop if the route allows; do not push on by pace alone | Reduce distance or gain next time; consider a different base |
| Lost or unsure of position | Stop, find a high point or open view, re-orient; backtrack to the last known point if needed | Improve map reading; download offline tiles for the area |
| Twisted ankle or cut | Stop, clean and dress, decide whether the group can shorten the walk; phone for help if needed | Carry a small first-aid kit on every walk, not just big ones |
| Trail closed for forestry or conservation work | Accept the closure, take the signed diversion or choose another route; do not cross tape | Check notices before leaving home, especially in spring and autumn |
The point is not to eliminate risk. Walking is a low-risk activity by design. The point is to make the small risks cheap so that the things that go well are the things you remember.
Building a personal shortlist of nearby walks
After a season of trying routes, most walkers settle on a personal shortlist of three to five favourite walks within an hour of home. A useful shortlist has a walk for every mood: a short evening loop for after work, a flat half-day for visiting family, a climb for a clear winter morning, and a longer route for a free Saturday. The benefits of a stable shortlist are practical.
- You know exactly how long the drive is and where to park.
- You know which cafe or pub is open in which season.
- You know the bail-out points, the muddy sections, and the best photo stops.
- You can introduce new people to a route with confidence.
Once you have a shortlist, the next step is to build a shortlist of nearby days out that combine walking with other activities. A useful starting point is the one-day forest escape planner, which frames the same problem from the other direction: pick the base first, then the routes around it.
Frequently asked questions
How do I search for walking trails near me in a way that actually works?
Set a realistic time budget first, then filter by distance, elevation gain, and surface. Cross-check at least two sources, including a local authority or national park page, before you set off. The most useful search is not for the closest pin, it is for the right shape of route inside your window.
What is a reasonable distance for a beginner walker?
For most adults new to regular walking, 4 to 6 km on a gentle gradient is a useful starting point. For families with young children, 2 to 3 km is plenty. Increase the figure slowly and only when the previous walk felt easy in the final third.
How do I tell if a trail is suitable after heavy rain?
Check recent user photos on an app, look at the local authority path report, and read the comments on walking club pages. Clay soils will be slippery; sandy or rocky ground drains fast. If in doubt, choose a wider, well-drained route or postpone by a day.
Are walking trails near me usually free to use?
In most of the UK and Ireland, public rights of way are free to walk. National parks and forestries may charge for parking. Some private estates, gardens, and nature reserves charge an entry fee, but the fee is for the venue, not the act of walking.
What kit do I really need for a short local walk?
Waterproof or windproof layer, a small bottle of water, a snack, phone with offline map, a basic first-aid item, and a torch. Footwear should have a grippy sole and protect the ankle on rough ground. A printed map of the area is a useful backup even if you plan to use a phone.
Is it safe to walk alone on trails near a town?
Most popular trails near urban areas are well-used and safe for solo walkers in daylight, but tell someone your plan and carry a phone. For less-used routes or dawn and dusk walks, go with a partner or join a local group until you know the area.
How can I find dog-friendly walking trails near me?
Look for routes that avoid grazing fields in lambing or calving season, and check the local authority page for off-lead areas. Forestry Commission land and many country parks are dog friendly, but most nature reserves require dogs on leads.
Can I combine a walking trail with a high ropes or adventure park visit?
Yes, and it is one of the most efficient ways to use a day out. Many adventure parks are set in forest or parkland and have their own waymarked trails. A common pattern is a morning walk, a late lunch, and a high ropes course in the afternoon, with the ropes course acting as the day’s anchor activity.
How do I know if a route is too hard for my group?
Look at the elevation gain, the surface, and the time budget together. If any one of those is at the edge of your group’s limit, the others will tip the balance. Choose a route where all three are comfortably within range, then add a stop or two to make the day feel relaxed.
What should I do if I lose signal while walking?
Pre-download the map tiles for the area before you leave, carry a paper map as a backup, and tell someone your plan. If you are unsure of your position, stop, find a clear landmark, and backtrack to the last point you could identify. Most signal loss is short, and patience solves it.
Related reading
Explore High Ropes Adventure
Trip tools
Essential adventure planning guides
Use these practical guides to compare rope park activities, prepare for a first high ropes day, check a booking, choose suitable footwear and contact the editorial team. Each page links to the relevant live tools and current planning sections.
Latest articles
- Outdoor pillows: how to choose the right ones for a deck or trail rest stop
- How to find Morgan Jay tickets without overpaying
- How to find national parks near me: a practical local search guide
- Paylater travel: how buy now, pay later works for trip bookings
- Bagsmart Blast Travel Backpack: A Practical Review for Day Trips and Adventure Days
- How to choose an outdoor rocking chair that actually lasts
- Indiana travel advisory map: how to read it before a day trip
- How to plan an outdoor day around a concert stop: a cardi b tickets field guide
- Outdoor sectional sofas: a practical buyer’s guide for patio living
- How amusement parks actually work: rides, safety, and what to expect